
Building a camper van is loads harder than I remembered. I had this vision of leisurely chipping away at a deeply satisfying, manual craft while pondering all the splendid travels I would reap from the fruits of my labour.
My day would be punctuated with warming cups of tea and restorative strolls around the countryside striking up conversation with horses and singing gaily with the bluebirds as they anointed my shoulder and twittered cheerfully into the bracing , rural air .
Was it fuck.
The truth of building the camper van conversion was actually one of chronic back ache, self inflicted injuries and the over arching sense of white-hot urgent dread.
This week I also discovered that if you spend a day working inside a reflective silver box illuminated with a 500w halogen bulb you will get sunburn.
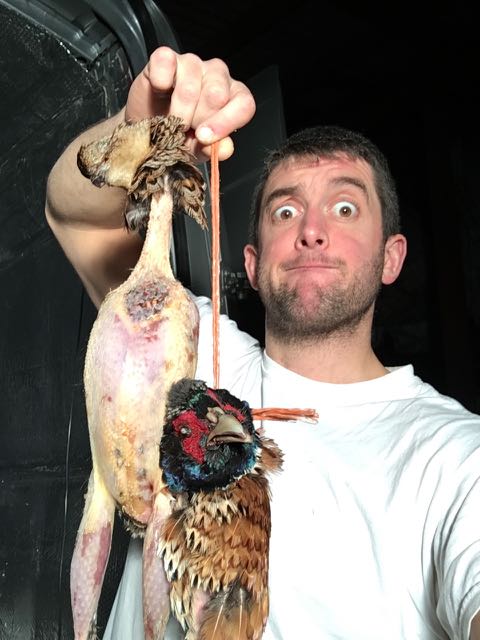
There has been little time to sit down let alone think about making a cup of tea. That being said, though it’s still a lot more fun that commuting for a day’s work AND I got given a brace of pheasants by the local farmer which has never happened to me in London.
Building the van – Getting to square 1
You might think that when converting a camper van you just purchase the van and start screwing and glueing.
This only happens once you’ve unpicked a load of someone else work so you first reverse past the starting point and immediately you’re 2 weeks behind schedule before you’ve even thought about putting something in the van.
Building the van – Strip out the ply wood
First job – strip out all the ply wood. This is always a bit of a worrying time as you never know what you’re going to find underneath. Rusted panels, well concealed welds, screws punched through bodywork sections. All great fun.
Top tip – keep ALL the screws you remove as this saves you re-drilling all the holes in the van.
This bit’s actually quite quick.
Once the panels are off the van needs cleaning up for rust. The plastic faring on the Sprinter is it’s achilles heel rust-wise so I went through cleaning each panel pin and sealing it up with mastic.

Building the van – Run in your cables
While the van is stripped back the next stage of the building is running in all the cables for the electrics. Save your self a metric fuck-tonne of time and get some proper cable rods. This job took about 3 hours and if you were hoping to poke and thread cable on it’s own down the cavities you could do it but you’ll be there all week.
Building the van – Insulation Hell
The next 2 days were spent chopping up 50mm Celotex Foam Insulation for the walls, 40mm for the roof and 25mm for the floor. I’ve seen a few builds with 50mm under the floor which raises the floor enough enough to make the average person twat their head on the roof. Don’t do that.
The really shit part of building the van comes next: jamming every nook and cranny that foam doesn’t fit with rock wool. So thats a whole day of poking fibrelass wool in between foam panels, up bodywork ribs and into the door cavities.
If you ever think your job is shit stop for a moment and consider the poor bastards that have to lay fibreglass insulation for a living. That is a really, really hard way to earn your wedge.

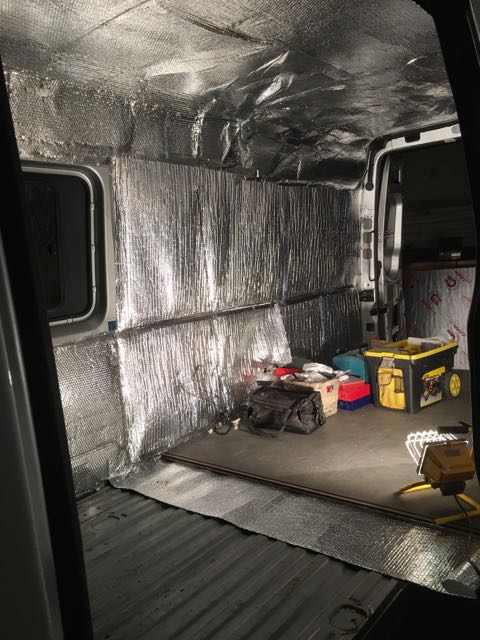
Building the van – Vapour Lock
Camper vans will do everything they possibly can to revert themselves into piles of rust. Living and breathing inside the metal box of a camper is sure fire way to accelerate its descent into ferrous powder. The vapour lock essentially seals the bodywork from your stinking,condensed breath. You can do this with polythene sheet if you like. For about £50 I got roll of foil bubble wrap which is both water proof and helps insulate the camper van. And gives you a unhealthy winter tan.
Building the van – Replacing the plylining panels.
Probably the most infuriating part of the first stage. While you’ve been feverishly insulating your camper van those ply wood panels you removed have transformed from neat 8×4 rectangle panels of ply to unmanageable polygons of defiant steel. If you’re lucky you’ll find perhaps 12% of the screw holes line up and so you have to kick, shout and curse the panels back to the hell from which they came. Saving the screws you removed will help a lot but you’re going to have to wack in whole bunch more before the thing sits flat.

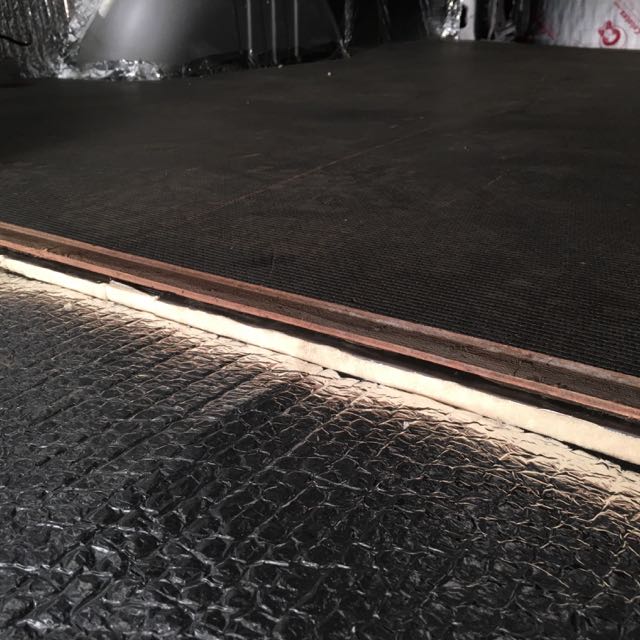
Building the van -Insulate and refit the floor.
The phenolic ply used for lining van floors is really heavy and not the easiest thing to move around on your own. But once it’s out you can simply draw round the panel and cut your floor insulation foam to match neatly. It helps to also cut the holes the mounting points are seated in as this give you something to orientate the panels to when you manhandle them back into the van .
A word of warning: you may need to find some longer bolts to get the mounting points fastened in again.
Building the van – One Week Down
So after all that fucking about for a week I found myself nearly back at square one with a van shell ready to convert. Albeit a nicely insulated and vapour locked van. It doesn’t look any different which is rather dispiriting but out of all the jobs on the inside of the camper van conversion insulating the thing is probably the worst.
Handy Tips for building a camper van conversion
- Get some cable rods to run the cables and help you stuff rock wool up various crevices.
- Keep the screws you remove from the ply panels.
- Clean and seal the bodywork panel pins to stop rust at the bottom of the panels
- Find some bolts that are long enough to get the floor fixed back properly .
You can’t build on a loose floor.
Great work.